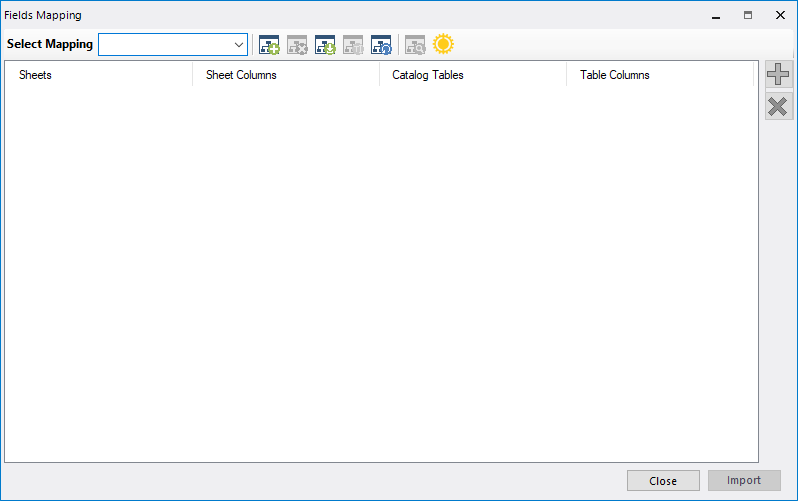
Fields Mapping Dialog
| Setting | Description |
|---|---|
| New Mappings
|
The New Mappings option will clear the existing mappings from the window. If the mappings have not been saved, you are prompted to save them. |
| Add new
|
Adds a new mapping record to be defined. |
| Delete Selected Mapping | Deletes the selected mapping record from the list. |
| Save Mappings | Saves the current mappings. |
| Save as Mappings | Allows you to save the mappings to a file which can be used again. Prompted with a standard Windows file save dialog in which to name and save the file. |
| Load Existing Mapping
|
Loads a previously saved file containing pre-defined mappings. Prompts you with a standard Windows file selection dialog to locate and open the file. |
| Preview Mappings Applied
|
Displays a preview of how the mappings will appear in the catalog table. |
Settings

|
Opens Field Mapping Settings dialog. You can set various mapping related settings here and also you can set mappings file directory. |
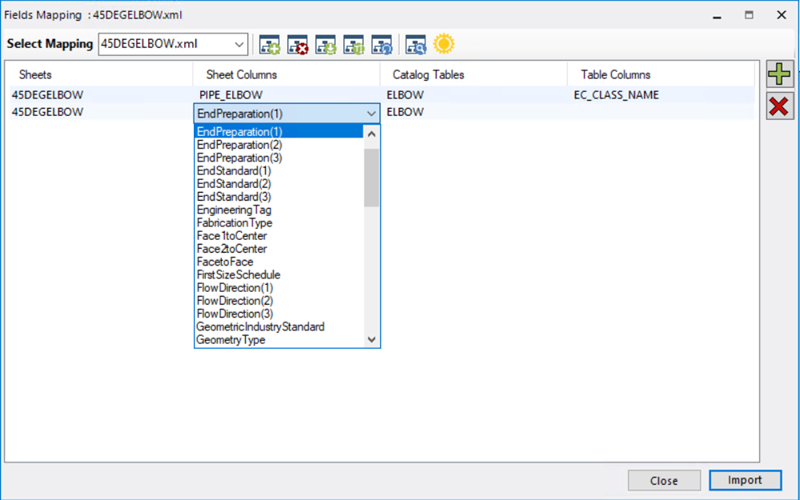
| Use EC_Schema to define mappings |
Select this option before beginning the mapping process. When you initially add a new mapping, you will be prompted to define the EC_CLASS_NAME from a drop down list in the Sheet Columns field. |
| Import Data | This button only enables if a mapping is defined and will import the mapping information to the active catalog. If the mapping has not been saved/exported to an .XML file, you will be prompted to save the mapping after the data has been imported to the catalog. |
| Close | Closes the dialog without saving any changes. |


Columns
When a new Map record is added to the Fields Mapping dialog, click in the column fields to display a drop down list of selections to choose from.
To add a New Mapping, click the
Add New
![]() icon.
icon.
This will add a new record and allow you to define the mapping parameters.
Click in the Sheets field and select a sheet option from the list.
When finished mapping a sheet, click Import Data to import the data to the catalog.
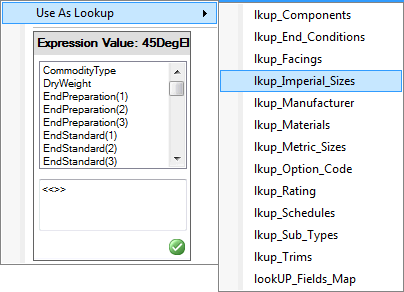
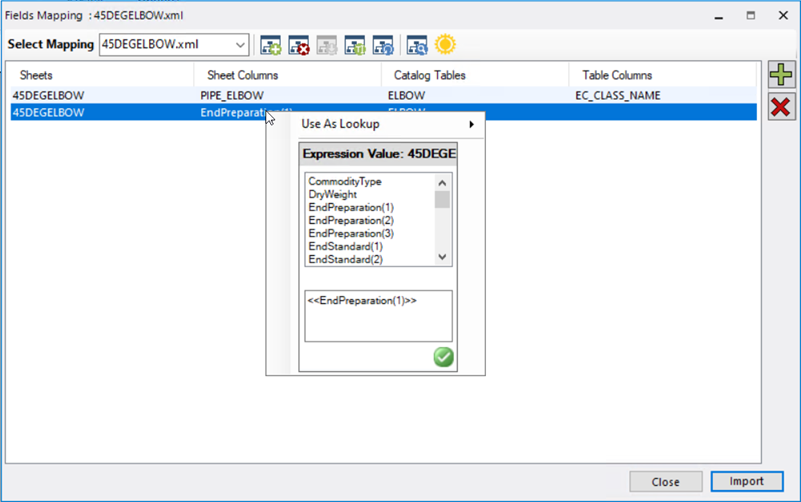
Customize Mappings
While importing user might have data in different formats and want to apply lookup or customize data while importing from excel.
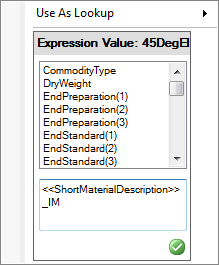
Use Arithmetic Expressions
Arithmetic expression allows user to customize data based on preliminary arithmetic operators (+, -, ;, *, and /). These arithmetic operations are performed on Numeric type of columns to provide numeric result otherwise it acts as text expression.
Preview Mappings
Click the
Preview Mappings Applied
![]() icon to review the results of the
defined mappings in the
Preview Mappings Applied dialog.
icon to review the results of the
defined mappings in the
Preview Mappings Applied dialog.